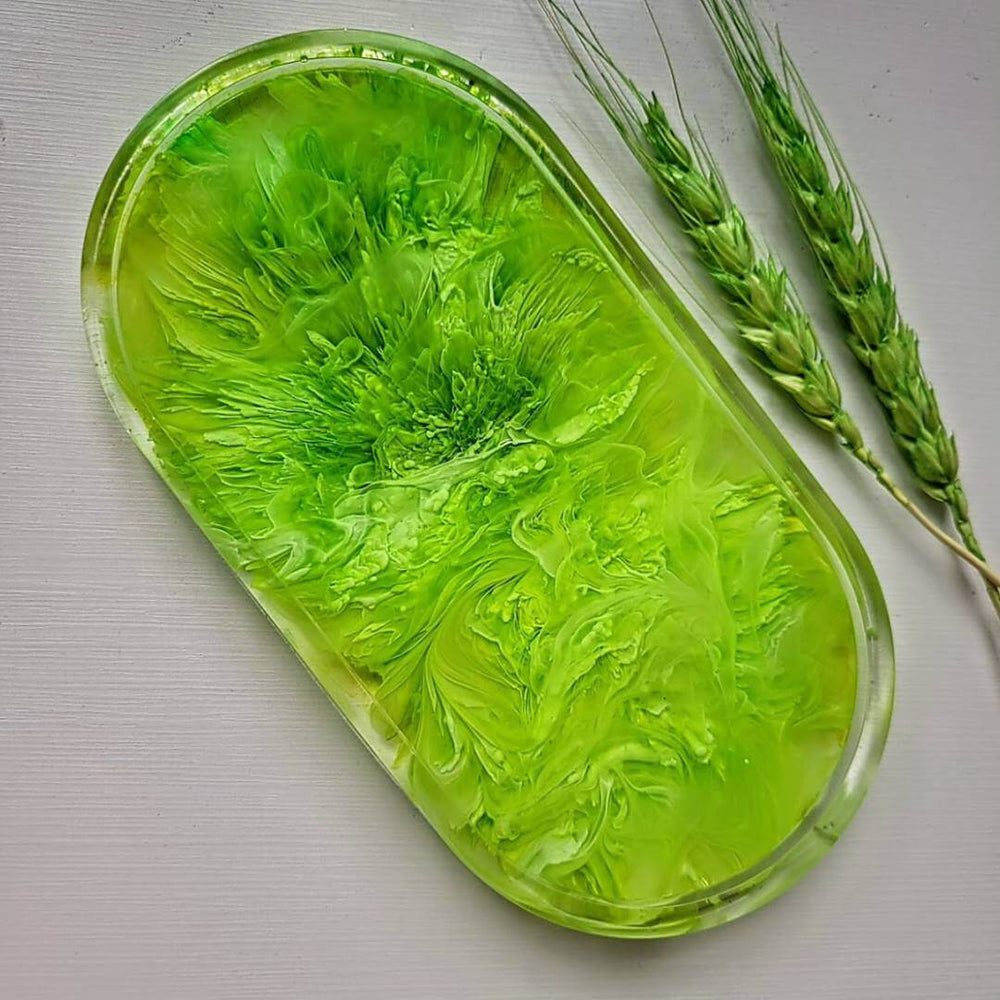


How to make resin coasters
Resin coasters are a beautiful addition to any home decor, and they are surprisingly easy to make with the mouldd resin coaster kit. With just a few supplies and some creativity, you can make your own unique resin coasters. In this blog, we will discuss how to make resin coasters step-by-step.
What you will need to get started
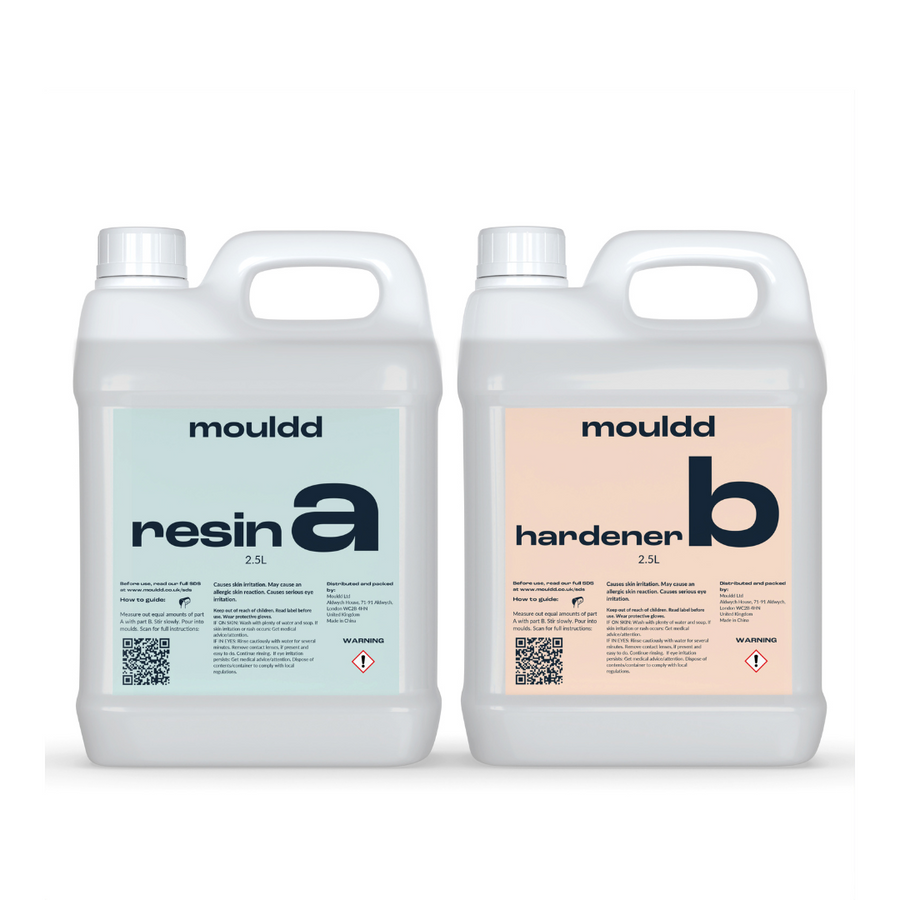
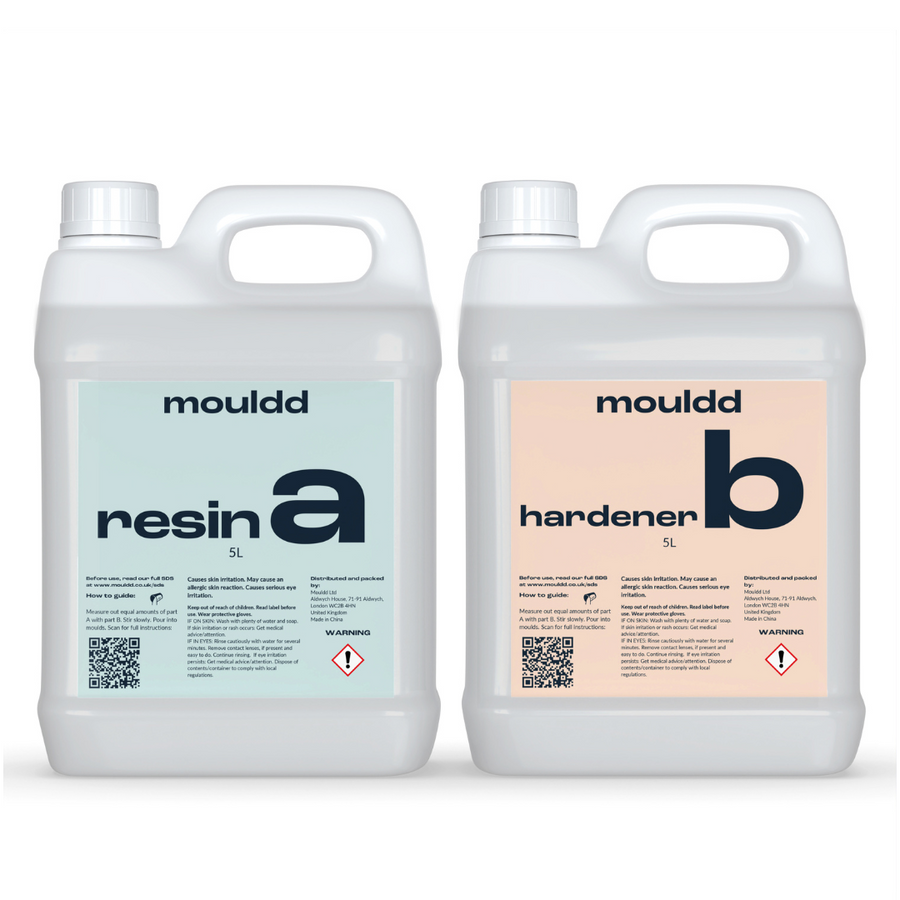
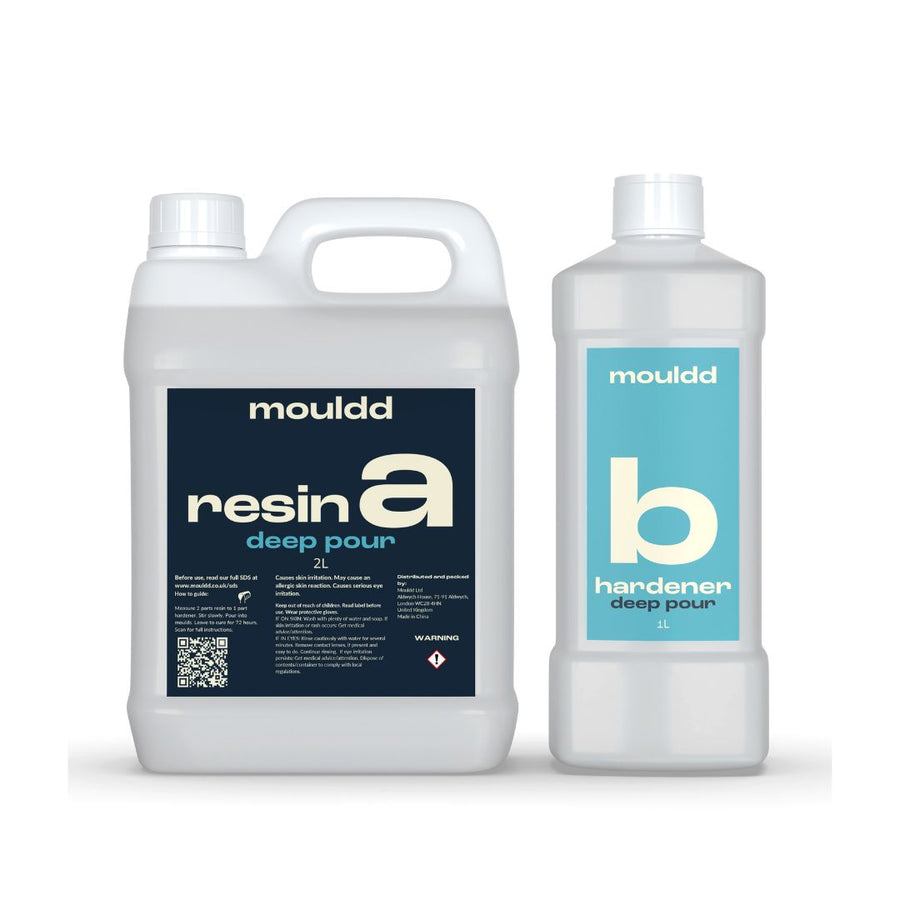
• Mouldd Epoxy Resin & coaster kit add on
• Silicone coaster moulds (included in kit)
• Mixing cups (included in kit)
• Stir sticks (included in kit)
• Heat gun or torch (optional)
• Gloves (included in kit)
• Protective gear
• Pigment or colourants
• Glitter or other embellishments (optional)
• Step-by-Step Guide (included in kit)
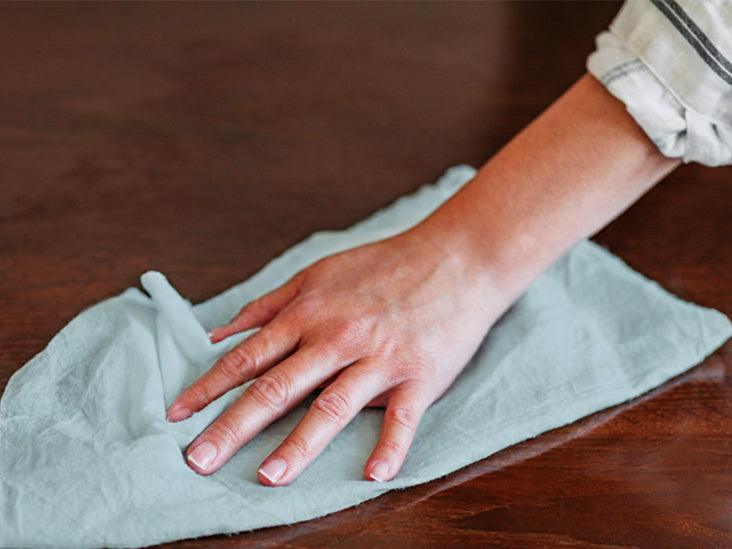
Step 1: Prepare Your Workspace
Before you start, make sure you have a clean, well-ventilated workspace. Cover your work area with a table cloth or plastic sheet to protect it from any spills or drips. Wear protective gloves, and make sure you have all your supplies within reach.
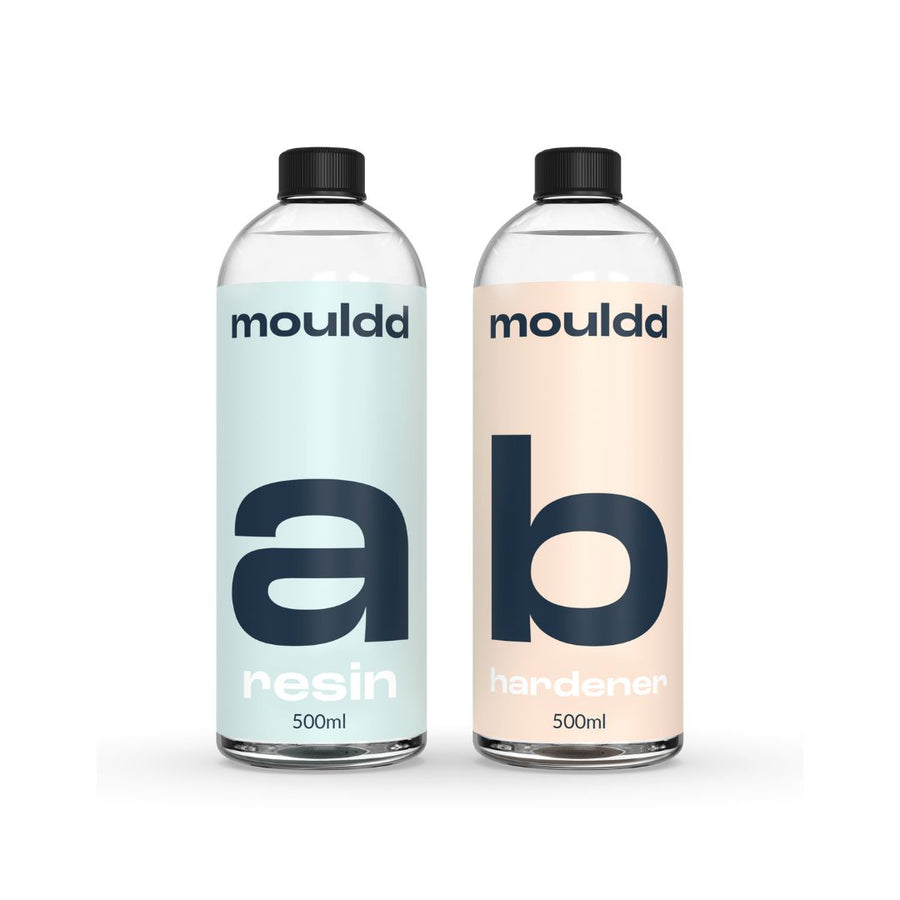
Step 2: Mix the Resin
Mouldd resin is a heat resistant 1:1 resin. Therefore you will need equal parts resin to hardener (measure by volume or weight). Pour slowly both the resin and hardener into your mixing cup and mix for three minutes. Scraping the slides slowly to make sure all the resin is mixed in and it is not left cloudy. Make sure to wear gloves to protect your skin from the chemicals in the resin.
Step 3: Add your colours
If you want to add colour to the resin, you can do so using a small amount of alcohol ink, mica powder or dye. You can either add these colours directly to your mixing cup or pour some of the resin mixture into smaller cups and add the colours to these, allowing you to have multiple colours. Make sure you fully mix in the colours to prevent any bubbles forming later on.
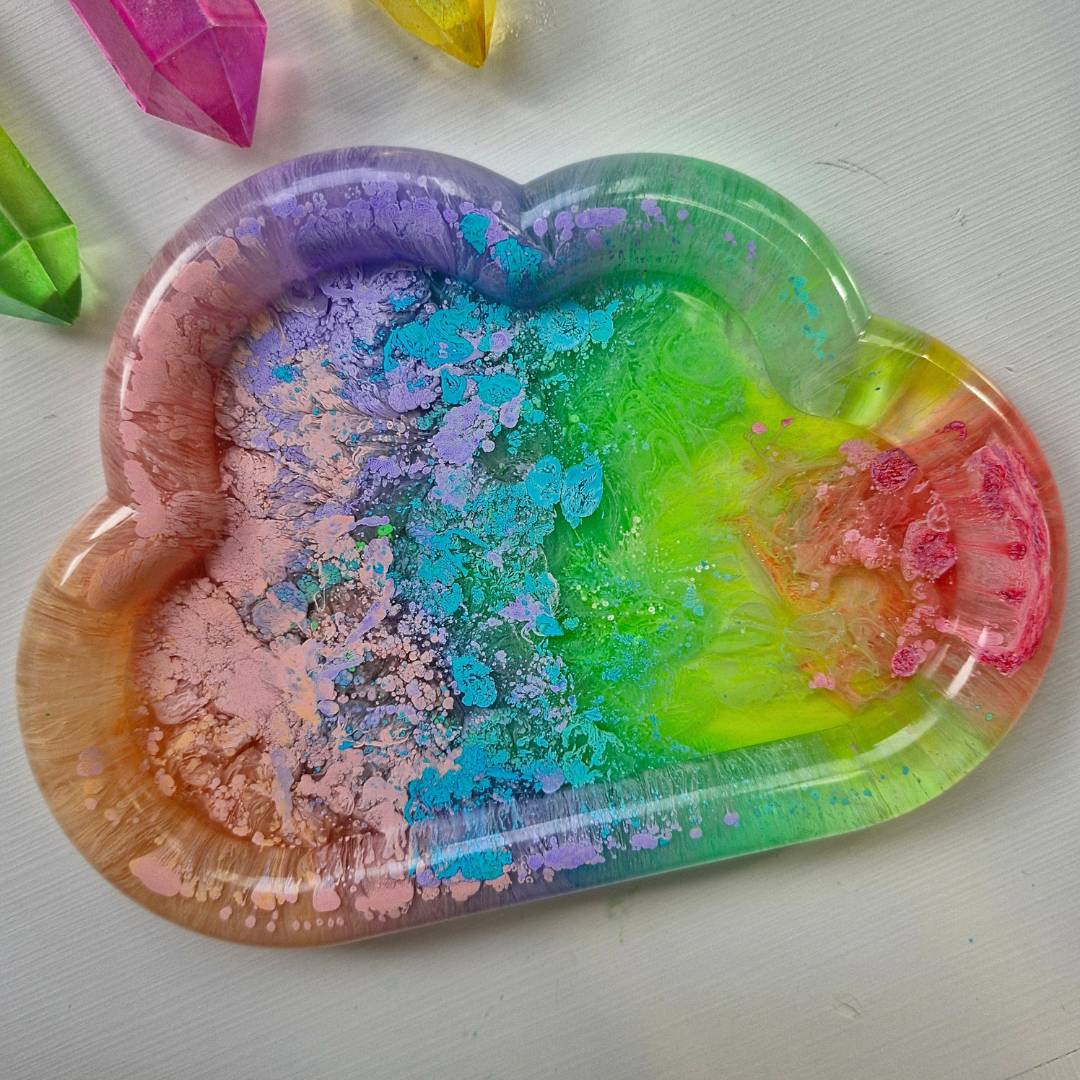
Step 4: Pour the Resin into the Moulds
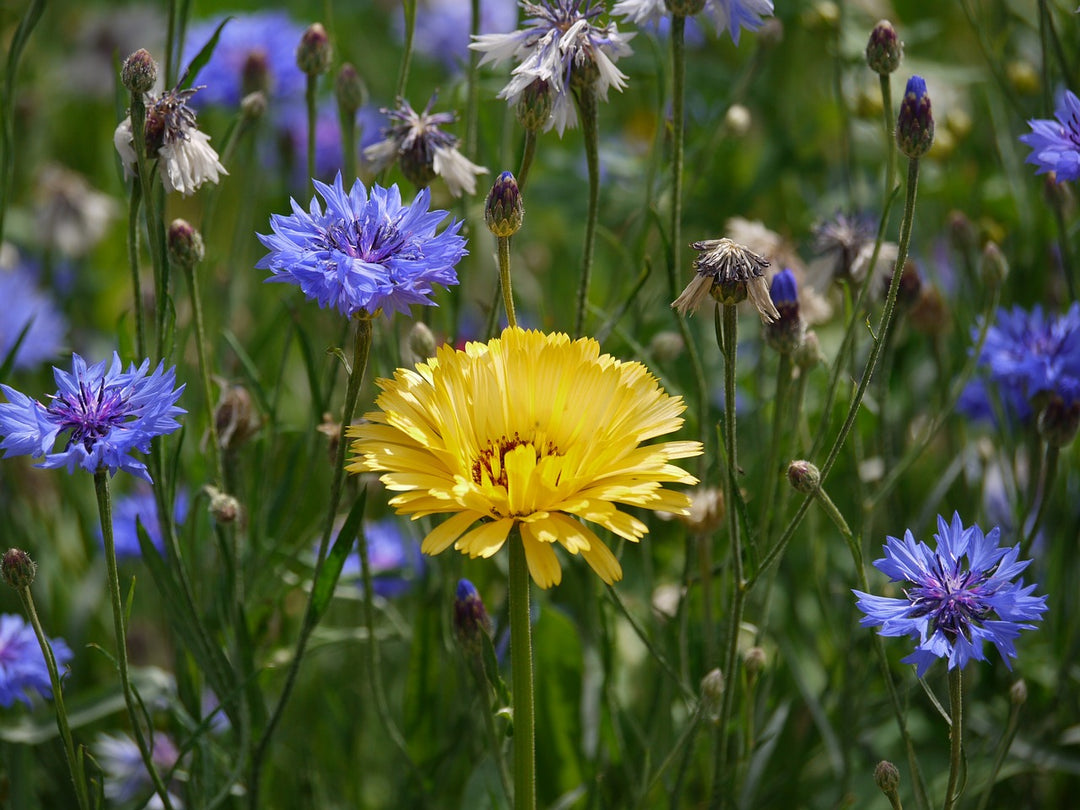
Carefully pour the mixed resin into the silicone coaster moulds, filling them about 80% full. If you want to create a layered effect, pour a small amount of resin into the mould first, and let it set for a few minutes before pouring the next layer. Using the layering option will also allow you to embed other objects like flowers in the resin. (Read our article on how to embed flowers into resin to learn more!)
Step 5: Add Embellishments (Optional)
If you want to add embellishments, such as glitter or small objects, place them into the resin at this stage. Use a stir stick or tweezers to position them where you want them.
Step 6: Eliminate Bubbles
To eliminate bubbles in the resin, use a heat gun or torch. Hold it over the resin, moving it slowly back and forth until the bubbles disappear. Do not hold it too close, or for too long, as it can cause the resin to burn or discolour.
Step 7: Let the Resin Cure
Mouldd resin takes up to 24 hours to cure, depending on the room temperature. It will then take up to 7 days to get the full heat resistance.
Step 8: Remove the Coasters from the Moulds
Now for the satisfying part! Once the resin has cured, carefully remove the coasters from the moulds. If they are difficult to remove, gently flex the silicone mould to loosen the edges.
Step 9: Finishing Touches
To give your coasters a polished finish, sand any rough edges with fine-grit sandpaper. You can also apply a coat of resin to the bottom of the coasters to give them a smooth and glossy finish. Please read our article on how to polish your resin if you need more help on this.
Making resin coasters is a fun and easy DIY project that can add a personal touch to your home decor. With our epoxy resin and coaster kit add on and some creativity, you can make your own unique resin coasters that are sure to impress your guests. Follow these simple steps, and you will have a beautiful set of coasters in no time!
From the blog
View all