How to dry fresh flowers for resin
How to Dry Fresh Flowers for Resin Art
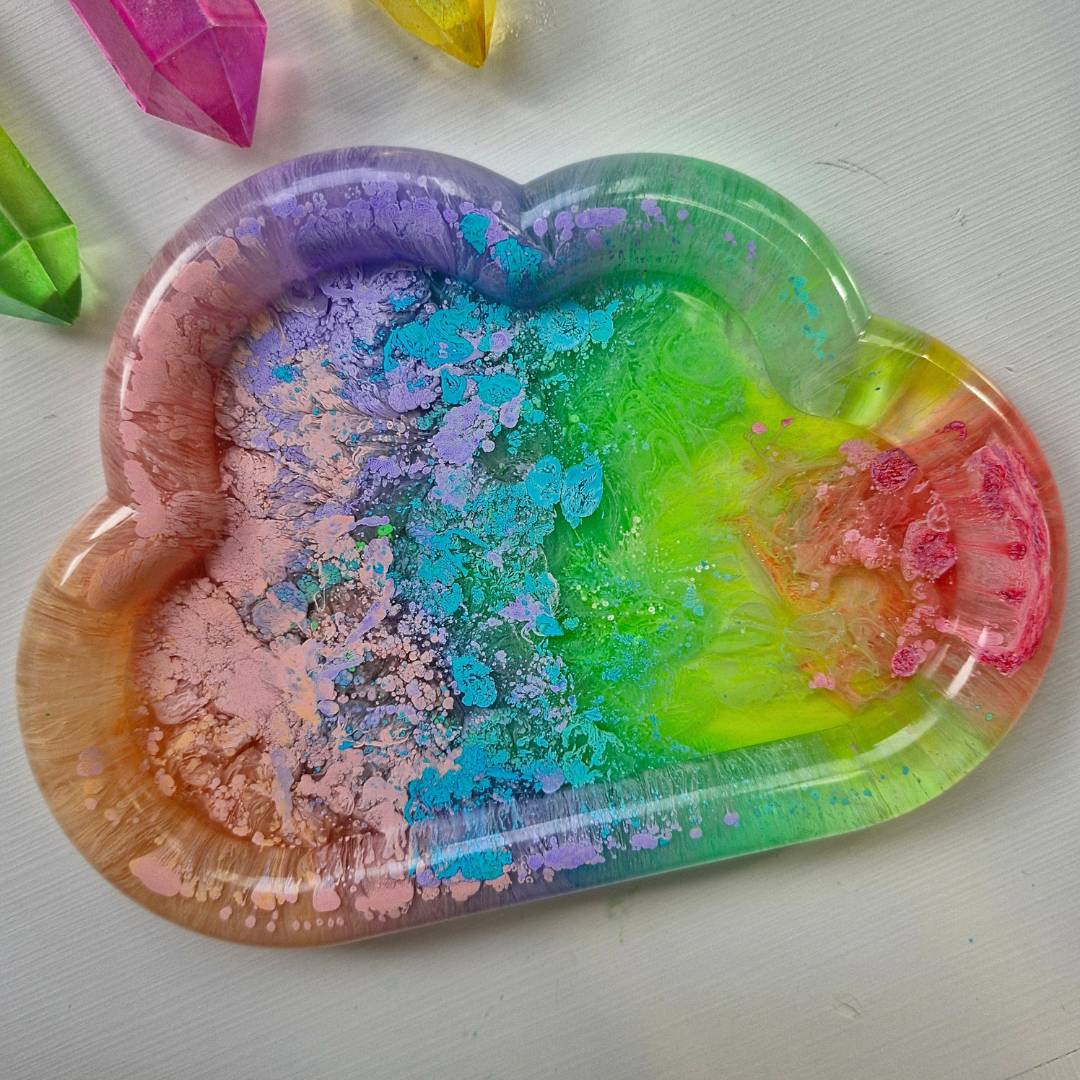
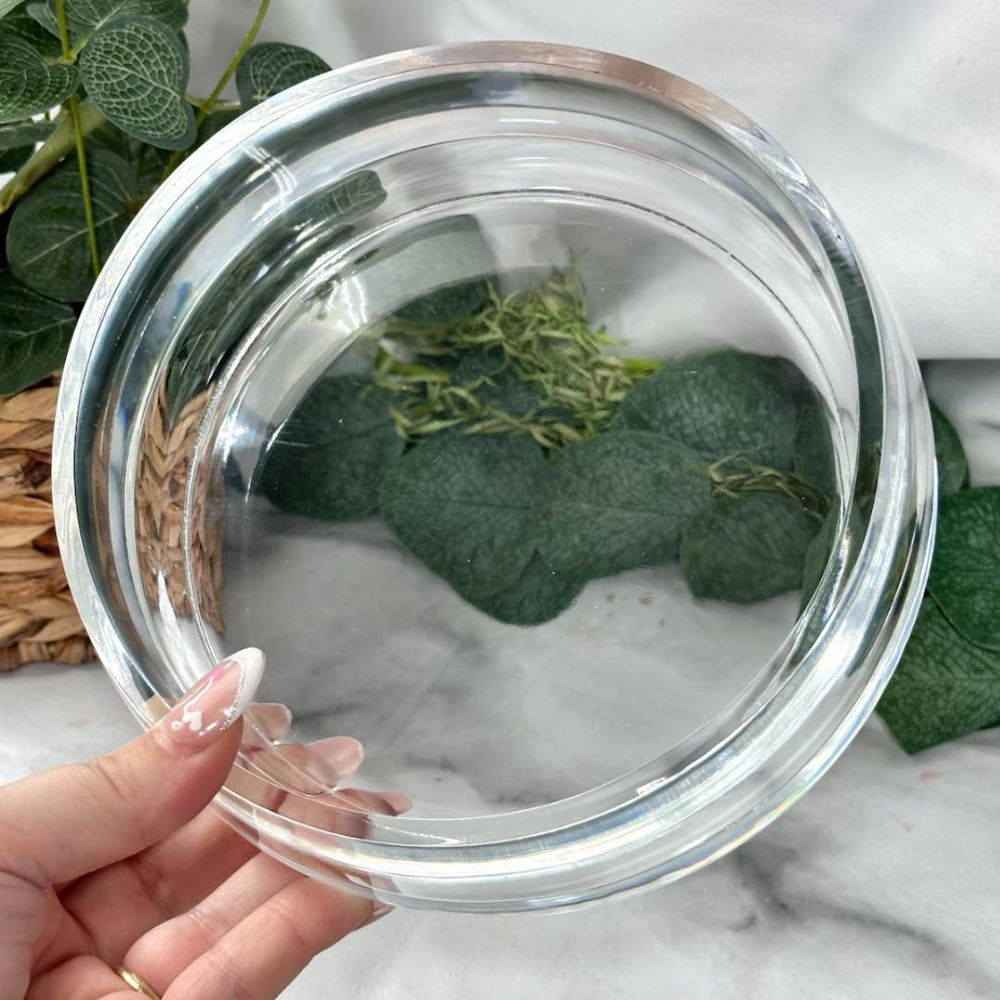
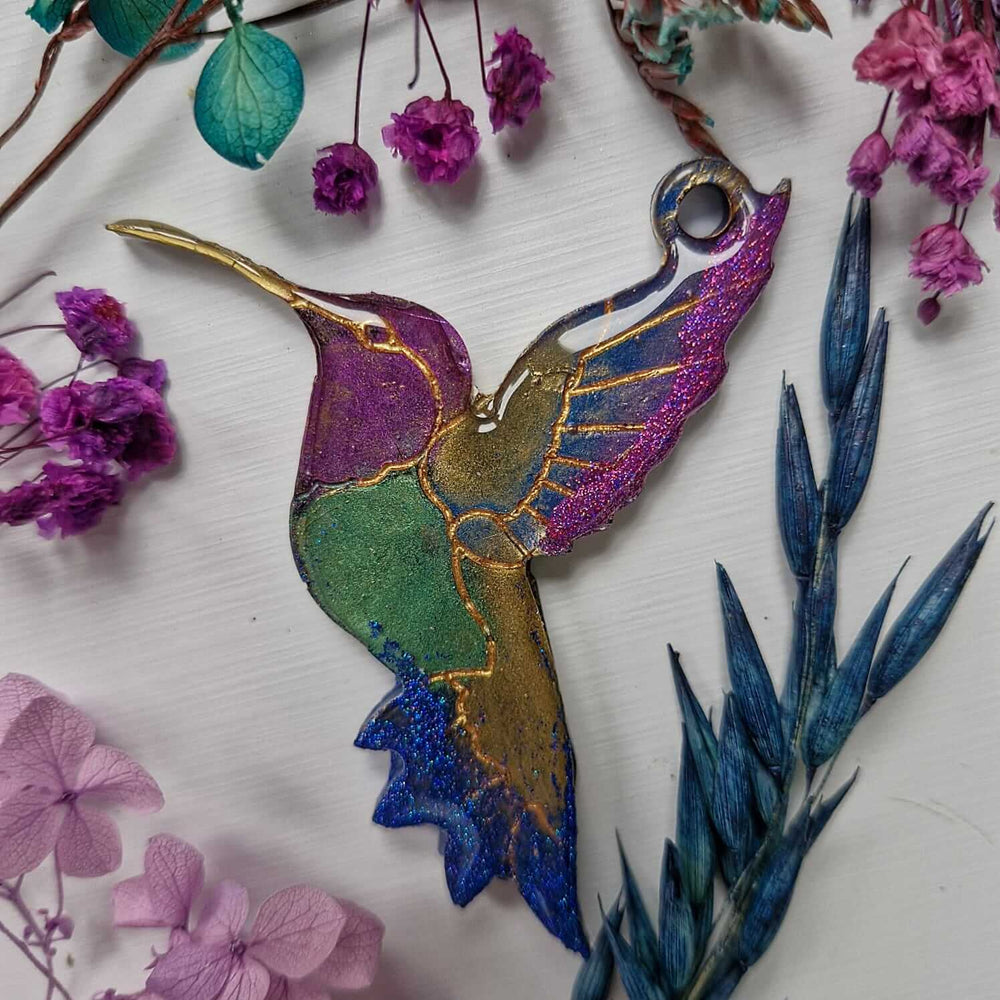
Resin is a beautiful and versatile medium for creating long-lasting, unique crafts. One of the most popular ways to use resin is by embedding dried flowers into it. Dried flowers add a natural touch of beauty and colour - but before you can use them, they must be dried thoroughly to prevent mould and moisture problems.
Below is a step-by-step guide on how to dry fresh flowers properly for your resin creations.
Step 1: Choose the Right Flowers
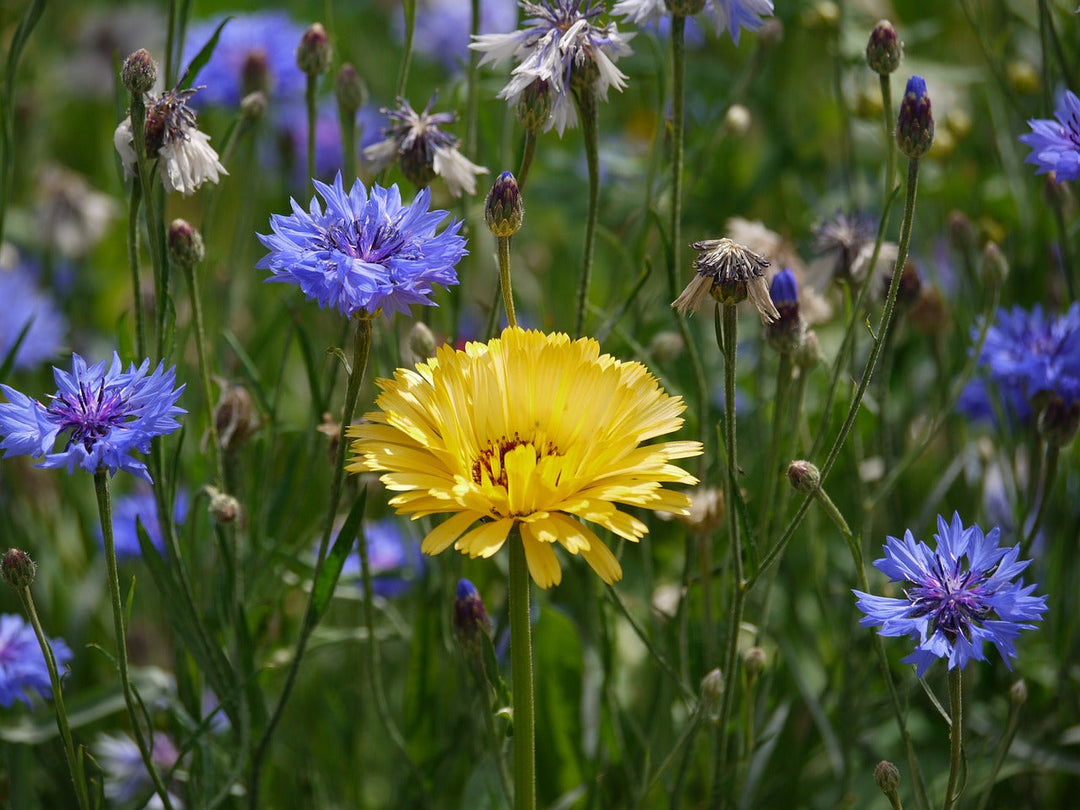
Not all flowers are ideal for drying and resin embedding. Choose flowers that are naturally sturdy and low in moisture. Great options include:
-
Roses
-
Carnations
-
Lavender
-
Baby’s breath
Avoid delicate or moisture-heavy flowers like hydrangeas and daisies, which can rot or brown during the drying process. Smaller, more compact blooms tend to preserve their shape and colour better.
Step 2: Remove the Stems
Trim away the stems using sharp scissors or garden shears. For most resin projects, you’ll only need the flower heads or petals - the stems aren’t usually embedded.
Step 3: Arrange the Flowers
Lay the flowers out on a flat surface such as paper towel or parchment paper. Make sure they aren’t touching - this allows for even drying and prevents them from sticking together.
Step 4: Dry the Flowers
There are a few methods you can use to dry flowers. Each has its pros and cons, but silica gel is the method most recommended for preserving colour and shape.
✅ Silica Gel Drying (Recommended)
Silica gel is a fine desiccant that gently removes moisture while maintaining the flower’s shape and vibrancy. Here’s how to use it:
-
Pour a layer of silica gel into a container.
-
Gently place the flowers face-up in the gel.
-
Carefully pour more gel over the flowers until fully covered.
-
Seal the container and leave for 3–7 days, depending on flower thickness.
Avoid silica sand - only use very fine silica gel.
Two popular brands used by resin artists are Wisedry and Trustleaf, both available on Amazon. This method gives the best results for colour retention.
🌬️ Air Drying
Place the flowers in a dry, well-ventilated area away from direct sunlight. This method is simple and doesn’t require any special tools, but can take 2–4 weeks and may result in faded or misshapen flowers.
Air drying must be done in a warm room with humidity below 50% on kitchen paper - however, there is still a risk of the flowers losing colour or even rotting if too humid.
⚡ Microwave Drying
If you’re in a hurry, the microwave can help:
-
Place the flower on a paper towel.
-
Microwave on high for 30 seconds.
-
Check and repeat in 10-second bursts as needed.
⚠️ Be careful not to overheat - flowers can burn or turn brown very quickly. Always monitor closely.
Step 5: Store the Flowers
Once fully dried, store your flowers on top of a paper towel in an airtight container in a cool, dry place. Label the container with the flower type and the date you dried them. Avoid exposing dried flowers to humidity, which can cause them to reabsorb moisture.
TIP: Sprinkle a small amount of silica gel in the bottom of the container to keep them dry.
Conclusion
Drying flowers for resin is a simple process - it just takes a little patience and care. Whether you’re preserving a wedding bouquet, garden favourites, or simply creating something beautiful for your home, following these steps will help you get the best results.
Ready to get crafting? Your dried flowers are the perfect start to a beautiful resin project!
From the blog
View all