How to prevent holes/bubbles of the surface of resin
How to prevent bubbles forming on the surface and how to fix it if it does happen!
Bubbles are one of the main issues artists face when working with any type of resin, either in the sense of lots of micro bubbles or small holes which appear on the surface of your creations. In this blog we will be discussing how to prevent the small holes (bubbles) from appearing on the surface of your art and if they do, how to fix the piece once cured.
Firstly, why are small holes appearing on the surface of my piece?. These holes are actually small bubbles that have worked their way up to the surface while curing, or bubbles that have got trapped in the sides or the rims of the mould. When pouring it can look clear, but bubbles can be created at multiple points during the prep/mixing/pouring process.
- The runnier the better
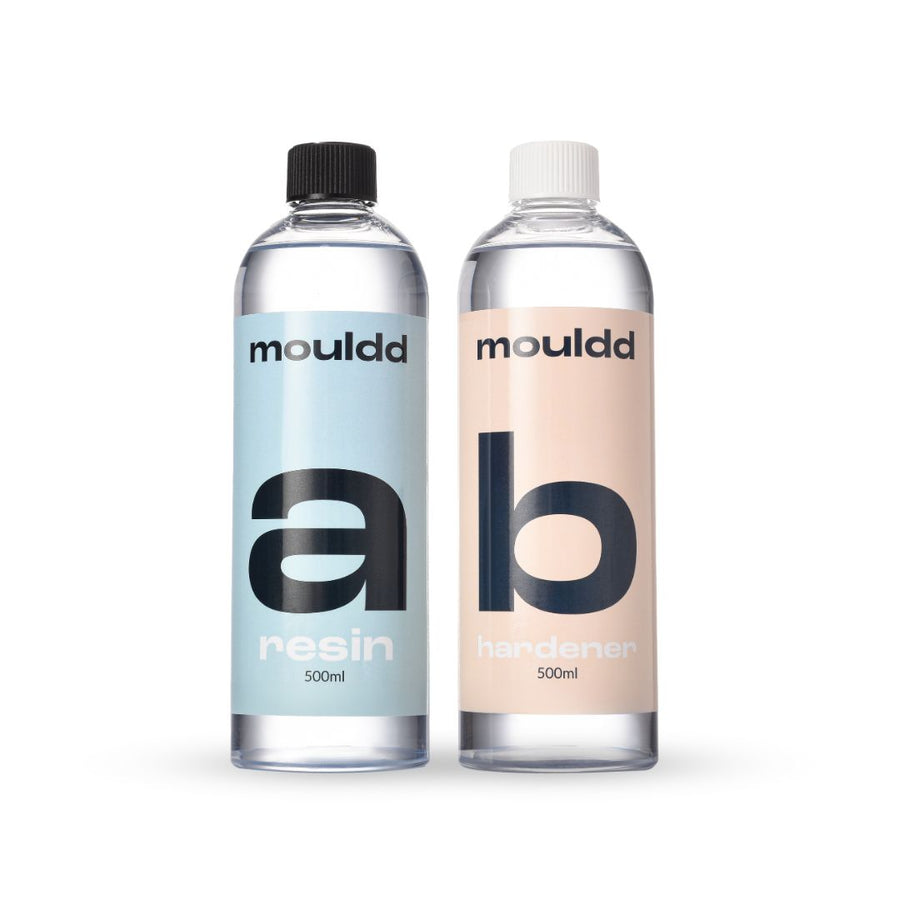
- Warming your resin, part a, is key to prevent small bubbles from appearing. The runnier your resin the more easily bubbles will be able to escape to the top and burst themselves. We recommend placing your resin in hot water for 10 minutes before using it as it will massively improve the viscosity of the resin. Boil your kettle, leave it to stand for 5 minutes and then that temperature water is perfect to place your resin in.
- Hardener is naturally a runnier liquid so doesn’t tend to need warming. Just ensure it is at a good room temperature.
- Leaving the resin to stand
- Once you have mixed your resin and hardener we recommend leaving the resin to stand for a few minutes. This allows any bubbles that have formed to rise up and burst. With our original shallow pour resin, leave it to stand for around five minutes, our deep pour can be left to stand for 20 minutes as it has a much longer work time.
- Ensuring the entire mould is covered with resin
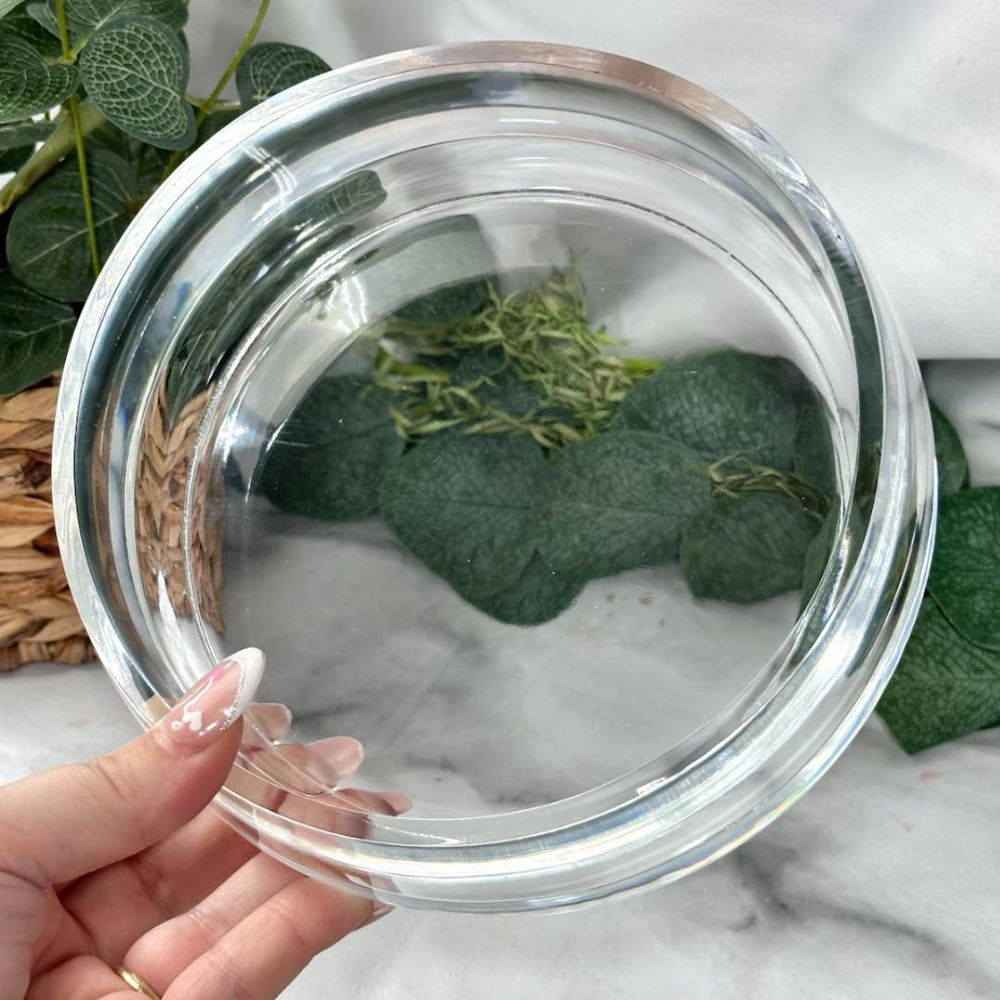
- When working with more intricate moulds, or jar moulds for example it is much easier for bubbles to get trapped. Our tip for this is to pour in a small amount of mixed resin and slowly run it around the entire mould. By coating it like this before pouring it can help prevent any trapped air when you do the proper pour. With very intricate moulds you might find the need to do this technique a couple times, to be certain there’s no air trapped anywhere. Once coated, immediately pour in the rest of your resin, do not leave this small pour to cure first.
- The tap and pinch technique
- Once you have filled the mould with resin we recommend going round the edges of the mould and tapping/pinching it. Working your way around the mould this will help force any bubbles that have got trapped during the pouring process. It might seem a little futile, but this is a really great tip to prevent any holes/bubbles on the edges/surfaces once cured.
- Removing bubbles once poured
- Any bubbles that you can actively see at the surface can be given a helping hand to ensure they don’t affect the finished piece. The most effective way to burst bubbles is using a heat source, a heat gun is the best option. You don’t want to get too close to the resin as it can burn it, but a quick blast of heat will pop any bubbles near the surface.
- Toothpicks, if you do not have a heat source, using a little toothpick to pop any surface bubbles is another good option.
- A spritz of isopropyl alcohol, a quick spray of this will also remove any surface bubbles. However, we only recommend using it on coloured pieces as it can cause very slight streaks in a totally clear pour.
- Keep an eye out
- For the first hour your art is curing we recommend checking in on it a couple of times. During this time bubbles are most likely to rise up to the surface and as the resin is curing it will be harder for them to burst themselves.
My resin has fully cured and I have some holes in the surface, what can I do now to fix it?
In this situation you once again have a couple of options.
- Sand down + Coat
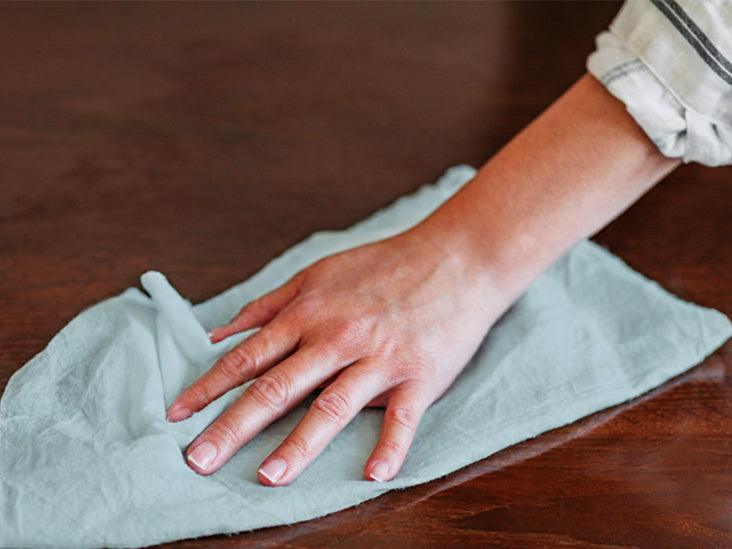
- Your first option is to do a very light sand on the surface. As long as the bubbles are close enough to the surface and the piece isn’t too large this is the most effective solution. Once sanded down, we recommend working up to a very fine grit sandpaper. You will then need to clean the resin down thoroughly to ensure no dust is remaining and then you can bring back the gloss and shine to the piece with a final top coat.
- Fill in the holes
- Using either a UV resin or shallow pour original resin you can fill in the holes. If they are on edges using a UV resin might be the easiest option as it cures so quickly, however a top coat to fill in the holes can also be a good choice.


