FAQs
Here you will find answers to all those burning questions you have and any tips & tricks that we have learnt along the way! And if there is anything we are missing that you would like to know, please email us at hello@mouldd.co.uk and one of the team will get back to you asap!
Yes, we absolutely do. You can find them linked here. These cover both our shallow pour and deep pour resin.
We offer three different types of resin.
Shallow pour (original), deep pour and UV resin
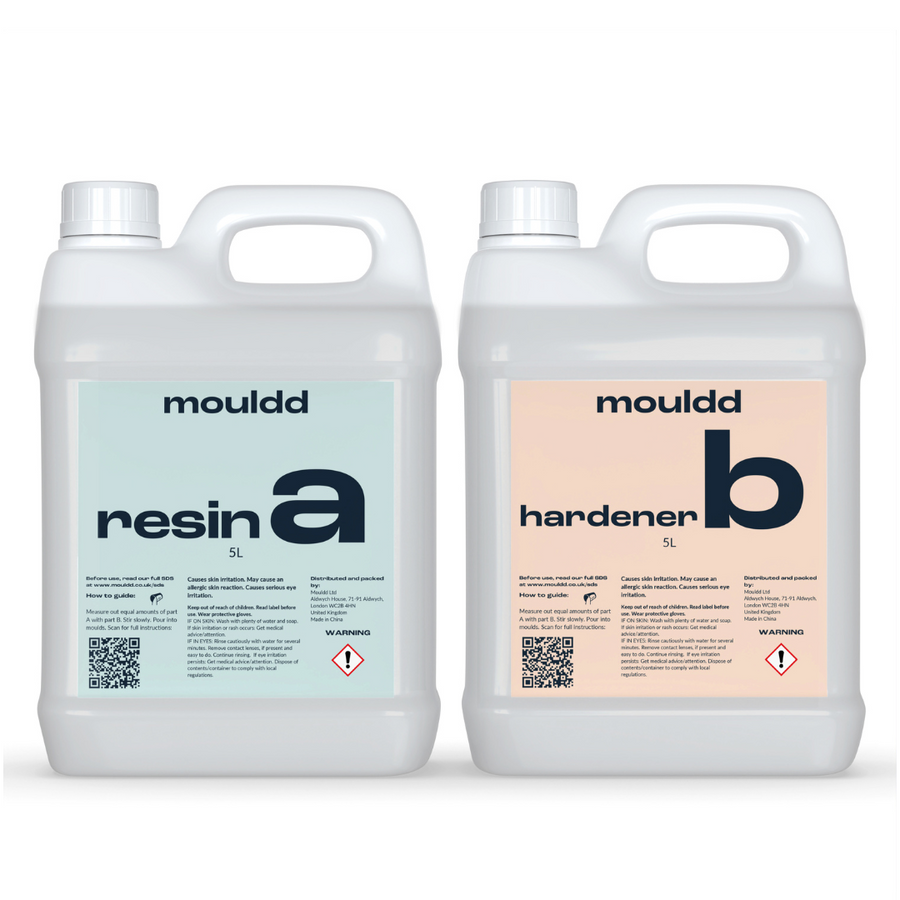
Our shallow pour resin comes in three sizes 1L, 5L and 10L kits. For those who prefer smaller bottles the 5L and 10L can come as 1L kits for the same price.
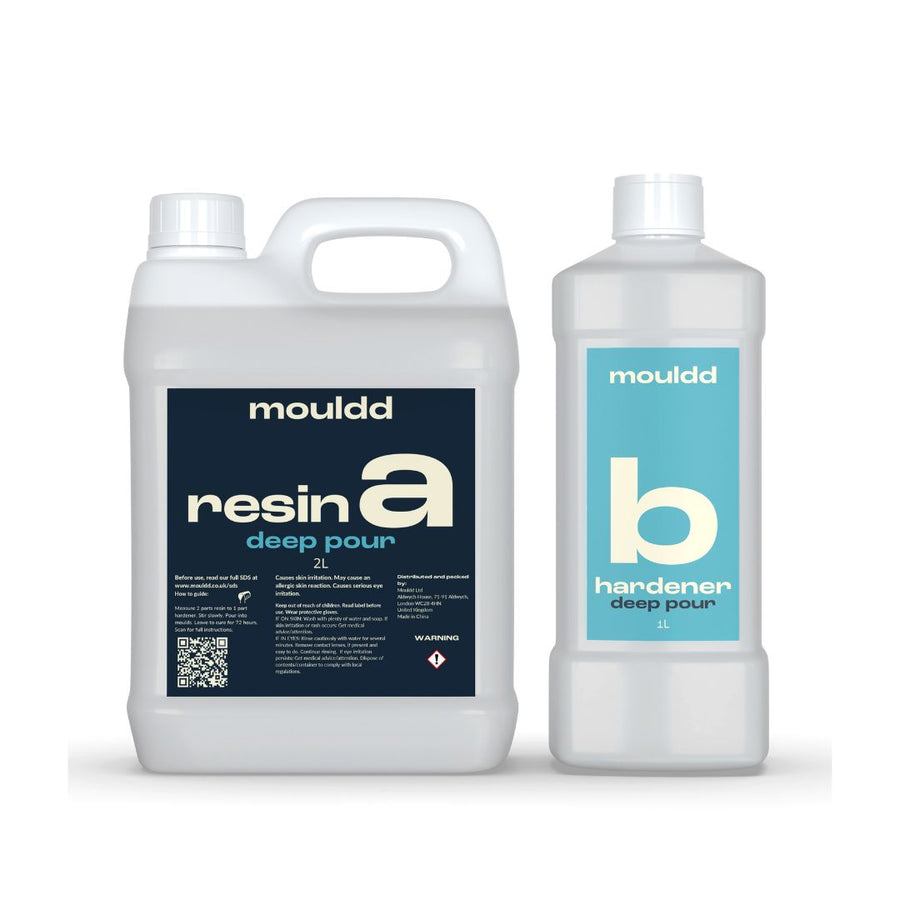
Our deep pour resin which is available in a 3L or 12L kit size.
Both are heat resistant up to 90 degrees celsius and food safe. The main difference is that our shallow pour resin is ideal for pours up to depths of 20mm. It is also perfect for coating art.
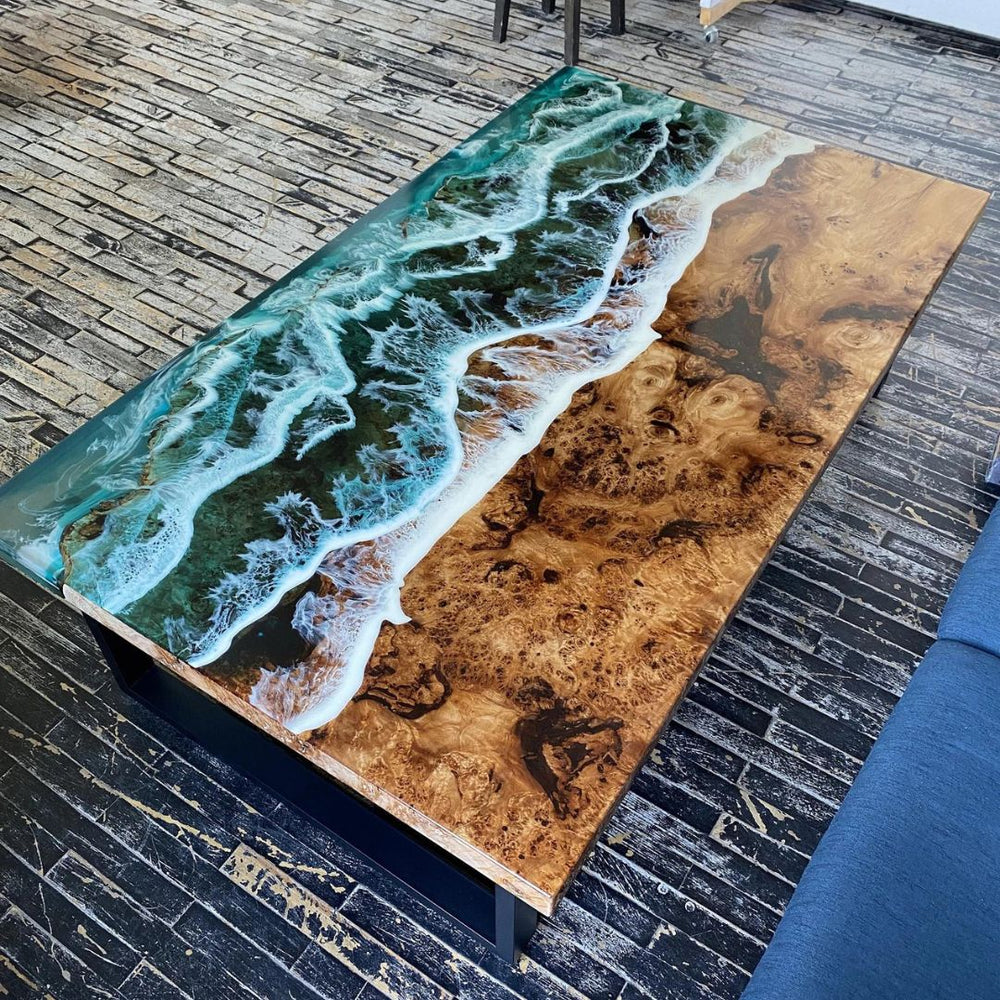
The deep pour resin can be used for pours between 20mm and 100mm, it can be used for river tables and deep pour moulds like pyramids.
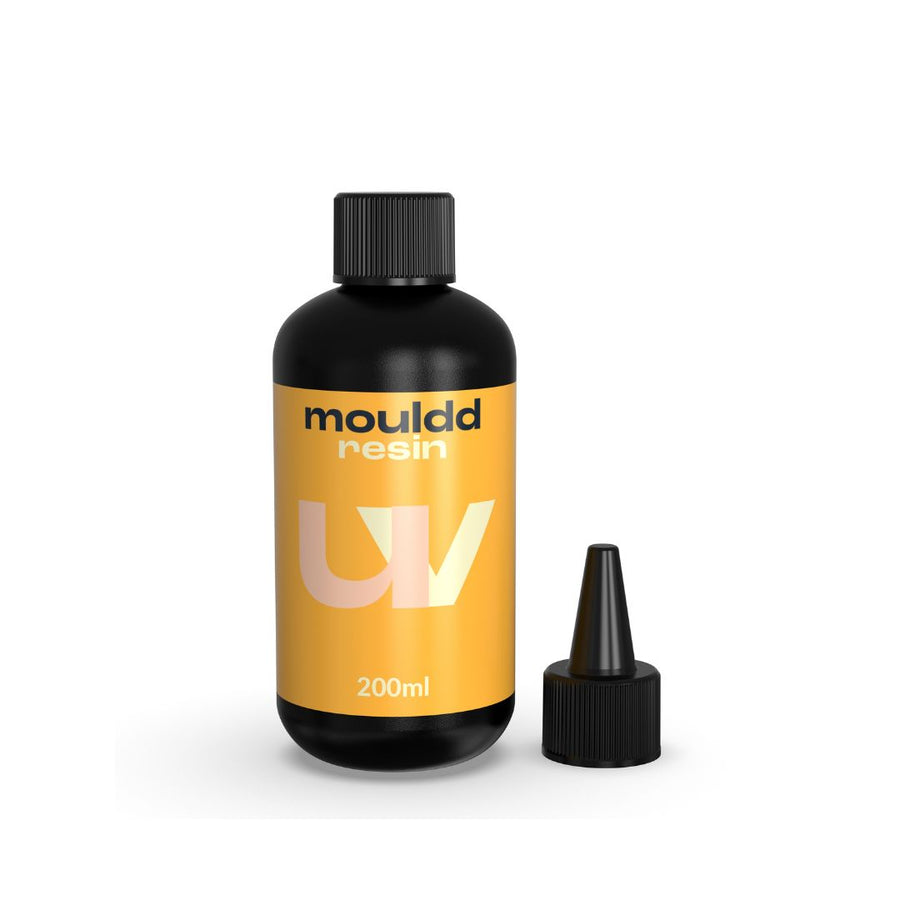
Our UV resin comes in three sizes: 200ml, 400ml and 600ml. It cures under a UV light in 2 minutes and is perfect for jewellery.
- One of the best ways to reduce bubbles from the beginning is by warming up your resin. We recommend everyone does, especially when your resin has been stored in a colder area. To do so place your resin in hot water or simply place on a radiator for around 10 minutes. We recommend only doing this with the resin, however, if your hardener is also particularly cold, place it in hot water for 5 minutes as well.
- Store your resin in a warm spot in your house
- Stir slowly, using a folding motion when mixing the resin and hardener together
- Make sure to scrape all sides of the cup with the mixing stirrer to ensure thorough mixing
- Let your resin sit for 2 to 3 minutes after mixing with the hardener. This will allow the majority of bubbles to float to the top and pop. With our deep pour you can leave it for 10/15 minutes for bubbles to rise up!
- Use an alcohol spray of more than 91% to help pop the bubbles
- Use a heat gun or even a candle lighter to help remove bubbles, simply holding the flame near to the coaster will pop them away. However, be careful not to touch the resin with the flame
- Use the silicone large mouldd stirrer - this will reduce the bubbles and is reusable!
If you have left over resin in the bottom of your jugs, simply leave one of the provided stirrers in the pot to harden within.
You will then be able to pull out the stirrer with the dried out resin attached. The resin will not stick to the silicone and will peel off quite easily and is rather satisfying!
Another option is to clean the pots and stirrers before the resin dries. Using an anti-bac wipe works wonders in this instance.
For more tips have a read of our cleaning blog here.
Mouldd shallow pour resin has a work time of approximately 40 minutes depending on room temperature.
Our deep pour resin has a much longer working time of 120+ minutes.
Perfect working temperature is between 18°C and 22°C.
You are not limited to just adding colours and glitter. You can add almost anything; paper, plastic, fabric, metal, clay, wood, shells, coins, glass, bottle tops, corks, natural elements, glitters and powders. The list goes on!
Just ensure their is no moisture in any of the items you embed as this can ruin the resin.
Elements that contain moisture should be avoided, for example, fresh flowers and leaves. The water will react with the resin, turning the leaves and petals brown. Dried flowers and leaves work beautifully.
If you are thinking of embedding items within the resin, make sure that they are thoroughly dry. If you are unsure whether it will embed correctly, feel free to ask one of our team for advice at hello@mouldd.co.uk, we would be happy to help!
We recommend covering your workspace in order to protect it from spillages. Good things to use are baking paper, old table cloths or any plastic sheets you have. This will allow you to simply peel off the resin once it has cured, making cleaning easy!
When you leave the resin to cure, you need to leave them in the same place and not move them as you will risk spilling the resin within the mouldd. However, if you know prior that you will need to move your work, we recommend placing the mouldds on a tray (underneath the baking sheet) so that you can pick them all up together and reduce the risk of damaging your art!
If in the instance you do get resin on your skin, we recommend having a pack of wipes handy to immediately grab to wipe the resin off. Then simply wash your skin with soap and water thoroughly to remove any residue.
For spillages on work surfaces we recommend using anti-bac wipes or cleaning sprays.
The best way to ensure there are no sharp edges are by pouring a small second coat of resin after the first layer has cured. Not only will this offer extra protection to your creation and remove any sharp edges, but it will also offer an extra shine.
Alternatively, it is possible to sand down your resin. We recommend wet sanding, using a very fine waterproof sanding paper.
Using resin at a low temperature means that is is more likely that the resin will take much longer to cure, or possibly not at all. In the same vein, if the resin is too hot, it will cure substantially faster and therefore may result in a sub-standard cure.
Our shallow pour resin tends to be quite fast setting, taking around 24 hours to fully cure. Make sure to cover your resin art when they are curing, as to avoid any dust settling on them.
Our deep pour resin takes 72 hours to cure and 7 days for full heat resistance.
Store the resin in a cool dry place, out of direct sunlight. The resin has a 12 month shelf life from purchase.
For our deep pour resin you absolutely can to help speed up the process of curing. That is because it is a much thinner and more stable resin, curing at a much slower pace.
We do not recommend using a vacuum chamber for curing our shallow pour resin. It is a much thicker resin which cures within 24 hours, using a vacuum chamber can overheat it and lead to a range of issues.
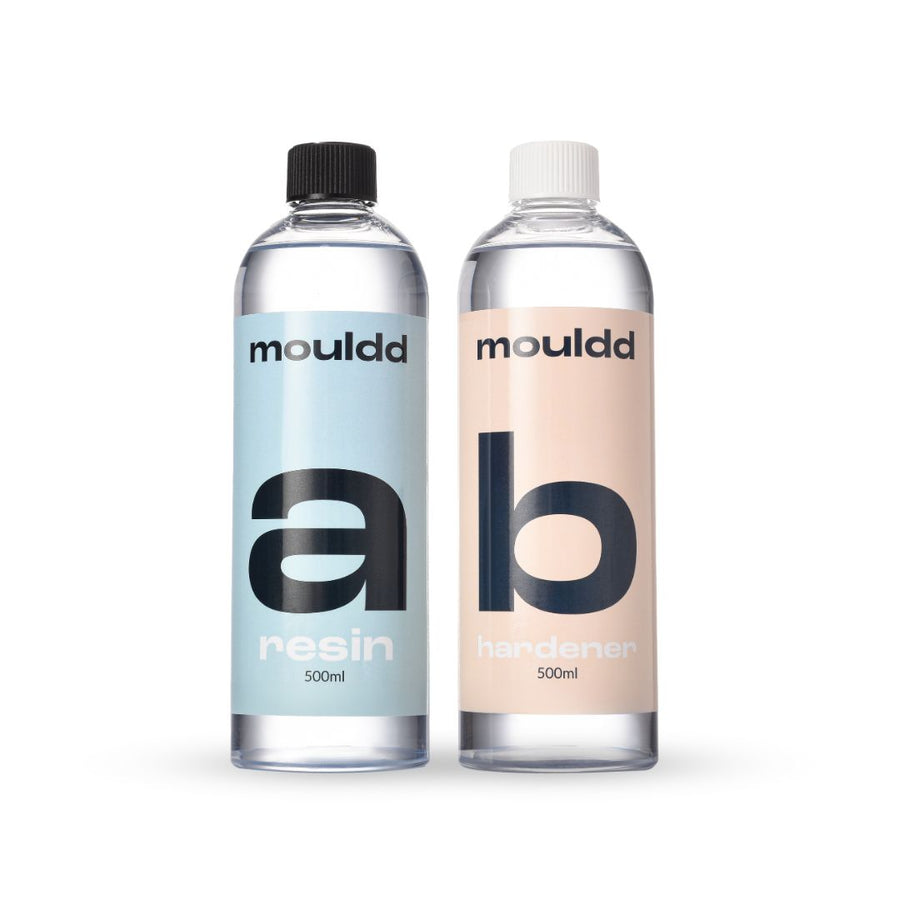
Mouldd epoxy resin has a mixing ratio of 1:1. This is done by volume, meaning 100ml of resin with 100ml of hardener. It is possible to also do it by weight with the same ratio. However, you will be left with a small amount of resin, due to the resin being denser.
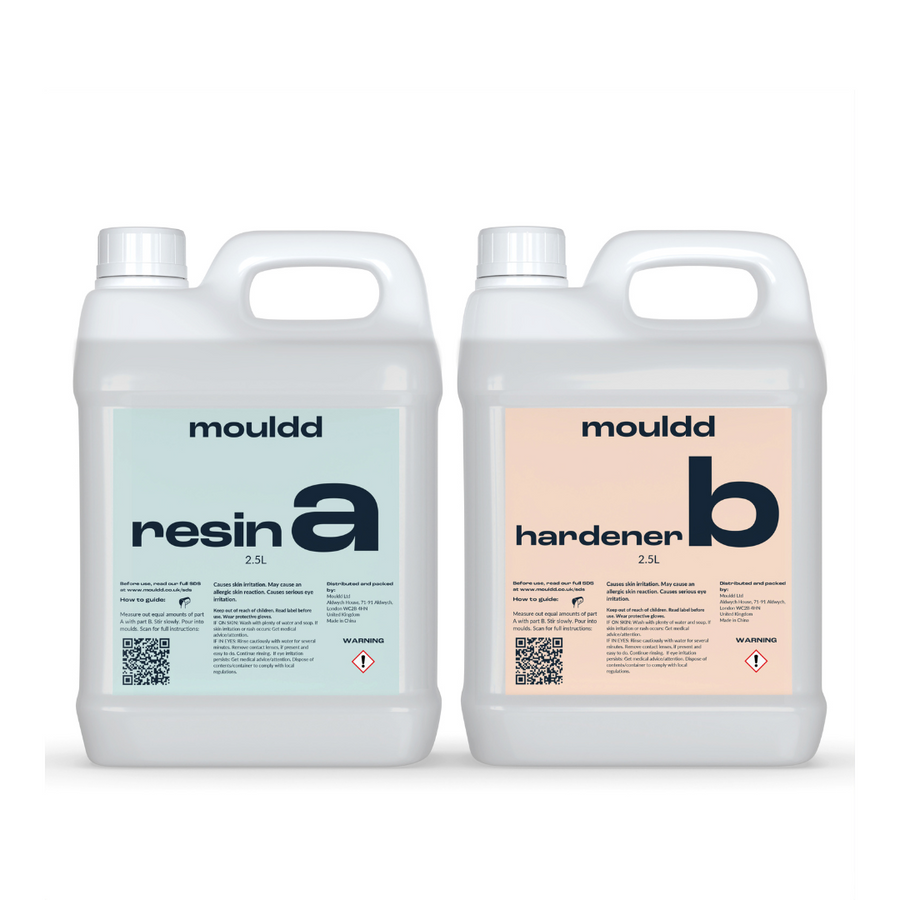
Our deep pour resin has a mixing ratio of 2:1 by volume. Meaning for every 100ml of resin you require 50ml of hardener.
Shipping
Free next working day delivery on orders over £50, sent via Parcelforce 24 hour.
Free Royal Mail 48 hour Tracked for orders over £15 and under £50.
All orders placed before 2pm are shipped same day Monday to Friday. After 2pm are shipped the next working day.
Orders under £15 have a delivery fee of £2.99


