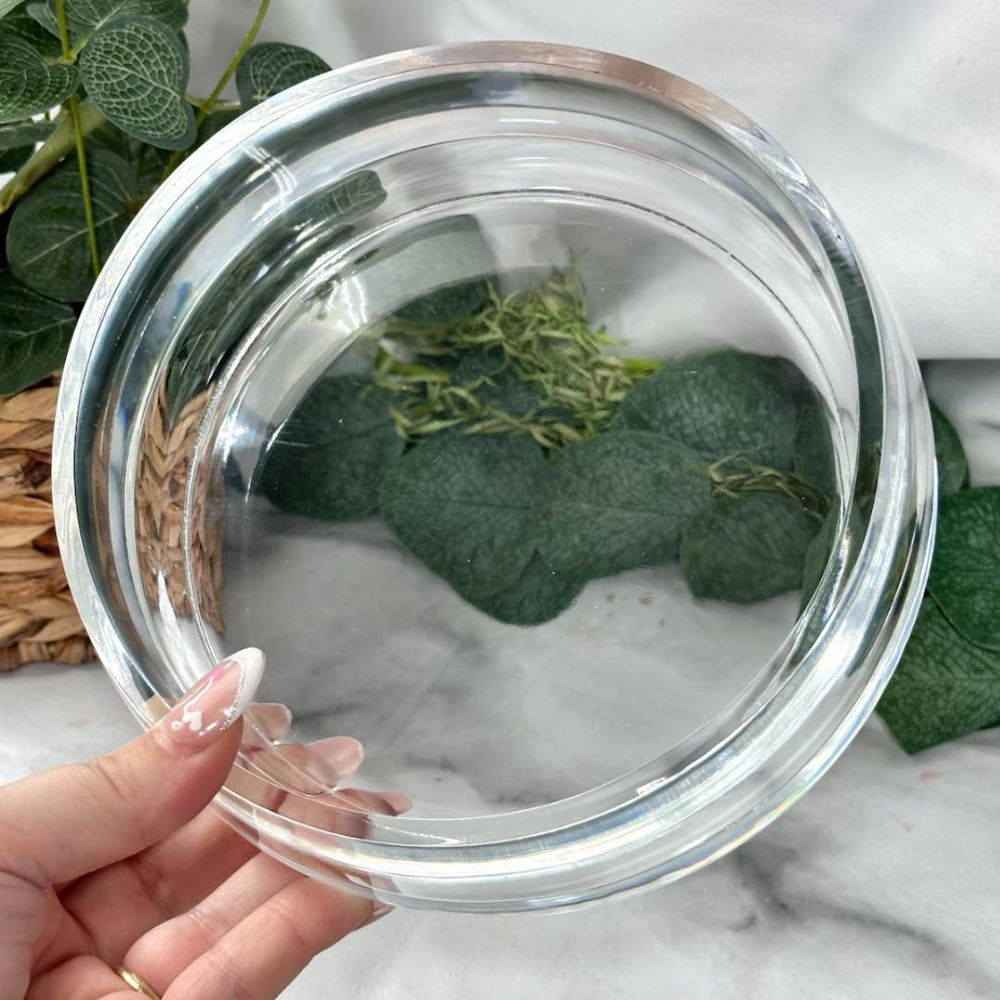

How to get bubbles out of resin
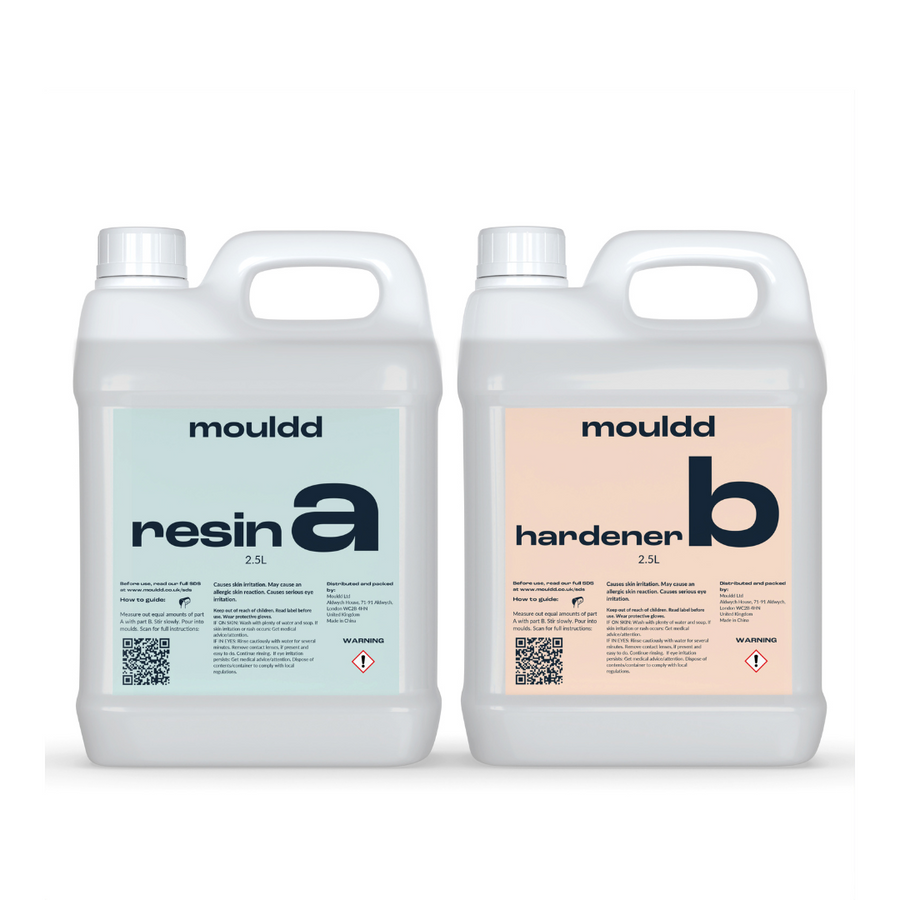
1. Mix It Slow, Mix It Steady: One of the main culprits behind the bubble invasion is a hasty mix. Remember, patience is key! When combining your resin and hardener, take your time and stir it slowly but thoroughly. This helps prevent excessive air from getting trapped in the mixture. So, let the magic unfold at its own pace, and you'll see fewer bubbles forming.
2. The Torch Technique: If you're looking for an exciting way to banish bubbles from your resin, the torch technique is perfect for you. You'll need a small handheld butane torch (available at most DIY stores). Once your resin is poured, gently pass the flame over the surface, keeping it about six inches away. The heat will cause the bubbles to rise and pop, leaving your resin beautifully smooth. Be sure to move the torch in a sweeping motion to prevent overheating.
3. The Toothpick Trick: For those tiny bubbles that stubbornly cling to the surface, the toothpick trick comes to the rescue. Grab a toothpick or a wooden skewer and gently dip the tip into resin. Touch the bubble with the sticky resin-covered tip, and watch the bubble disappear like magic! This method is perfect for those intricate designs where precision is key.
4. The Heat Gun Hack: If you prefer a less intense method than the torch, a heat gun can work wonders on a thinner pour. Hold the heat gun about six to eight inches away from the resin surface and gently move it in a sweeping motion. The heat will coax the bubbles to rise and pop, resulting in a bubble-free masterpiece. Remember to keep the heat gun moving to avoid scorching the resin.
5. The Vacuum Chamber Technique: For those dedicated resin enthusiasts seeking the ultimate bubble-free finish, a vacuum chamber is a game-changer. Place your resin-filled mold into a vacuum chamber and activate the vacuum pump. As the air pressure decreases, bubbles trapped within the resin will expand and rise to the surface. Once the vacuum process is complete, release the vacuum, and witness your bubble troubles vanish. This method is ideal for larger projects or those with a high level of detail.
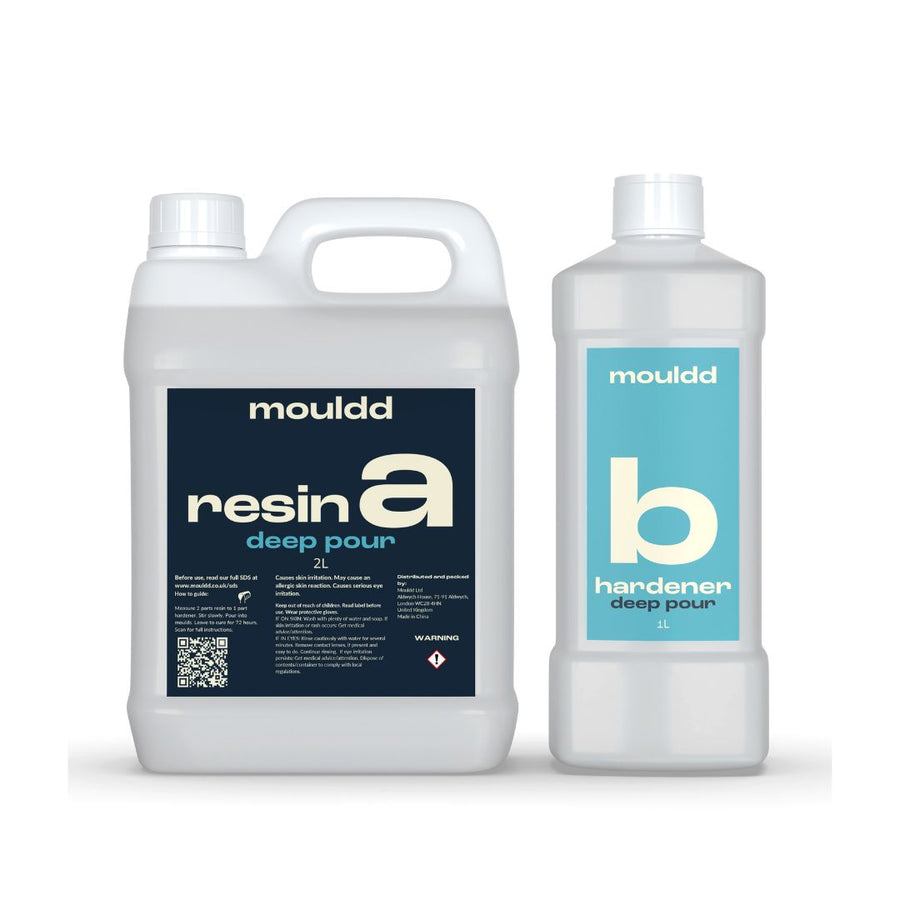
6. The Patience Method: Sometimes, patience is the key to achieving bubble-free perfection. After pouring your resin, allow it to sit undisturbed for around 5 to 10 miniutes, for our deep pour resin we recommend leaving it for 20 minutes. This because it has a much longer work time! Bubbles will naturally rise to the surface over time and pop on their own. While this method requires patience, it's a great option if you prefer a more hands-off approach.
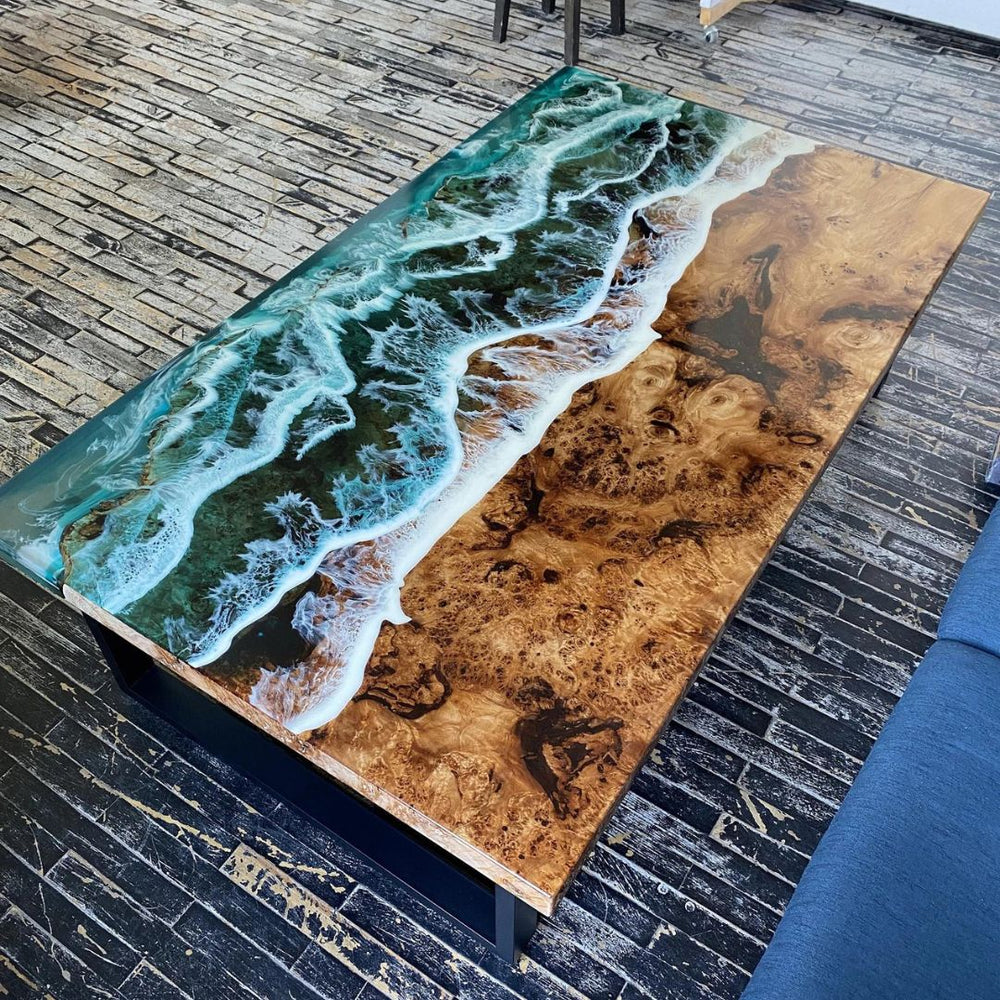
Crafting with mouldd resin is an enjoyable and rewarding experience, but dealing with bubbles can be a bit frustrating. Thankfully, armed with these six bubble-banishing techniques, you'll have the skills to create flawlessly smooth resin creations. Whether you opt for the torch technique's fiery excitement, the toothpick trick's precision, or the vacuum chamber's professional touch, your resin masterpieces will shine without those pesky bubbles. So go forth, have fun, and let your creativity flow bubble-free!
From the blog
View all
Latest posts