How to make resin art
Resin art is a beautiful and unique form of art that involves pouring a clear and glossy epoxy resin onto a surface or into a silicone mould, to create a beautiful and vibrant design. It's a popular DIY project that you can easily do at home with a few simple tools and materials. In this blog post, we'll guide you through the steps to create your own resin art.
What you will need to get started
• Mouldd Epoxy Resin & coaster kit add on
• A mixing container (included in kit)
• Stirring sticks (included in kit)
• Gloves and protective gear (included in kit)
• A level surface
• The surface to create your art on (canvas, wood, or any other smooth surface)
• Or a silicone mould (included in kit)
• Resin pigment/ dye/ mica powder
• Heat gun or butane torch (optional)
Step 1: Prepare your workspace
Before you begin working with resin, make sure your workspace is clean, dry, and free from any dust or debris. Lay down a protective covering on your work surface, such as a plastic tablecloth, to prevent any spills or drips from damaging the surface. We always recommend having some kitchen paper or anti bacterial wipes available just in case!
Step 2: Mix the resin
Mouldd resin is a heat resistant 1:1 resin. Therefore you will need equal parts resin to hardener. Pour slowly both the resin and hardener into your mixing cup and mix for three minutes. Scraping the slides slowly to make sure all the resin is mixed in and it is not left cloudy. Make sure to wear gloves to protect your skin from the chemicals in the resin. If you want to add colour to the resin, you can do so using a small amount of alcohol ink, mica powder or dye.
Step 3: Add the pigment or dye
After you've mixed the resin and hardener, you can add pigment or dye to give your art a unique colour. Be sure to use a resin pigment or dye that is specifically designed for use with epoxy resin. Add a few drops of pigment or dye to the resin mixture and stir it slowly until it's completely mixed. Keep adding pigment or dye until you achieve the desired colour.
Step 4: Pour the resin onto the surface or into the mould
Slowly pour the resin mixture onto the surface/mould you're using for your art. Use a stirring stick to spread the resin evenly across the surface. You can also use a heat gun or butane torch to remove any bubbles that may have formed.
Step 5: Create your design
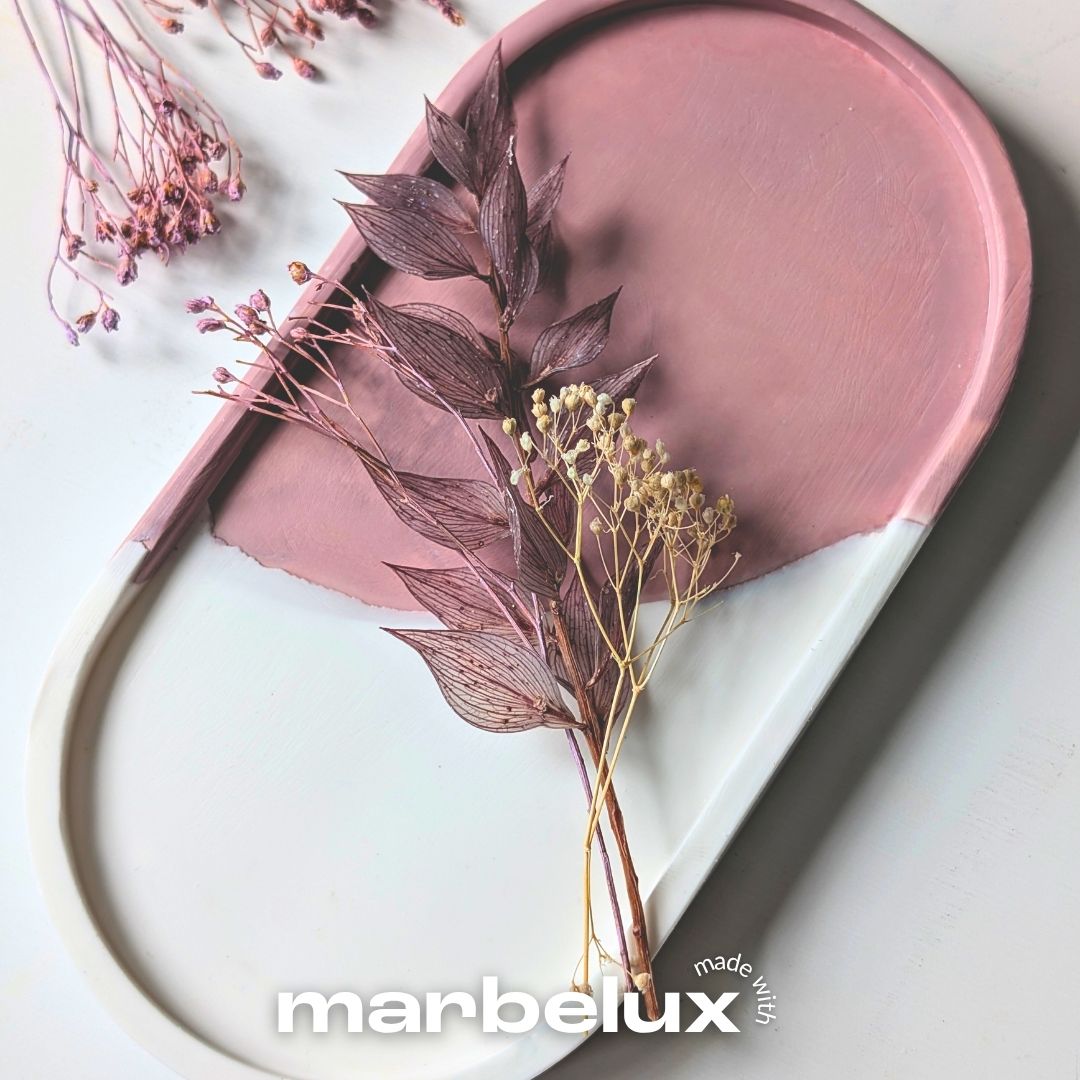
Once the resin is poured onto the surface, you can create your design by adding more pigment or dye, or by using a stirring stick to swirl the colours together. You can also add other materials such as glitter, dried flowers, or beads to create texture and depth.
Step 6: Let the resin cure
After you've finished creating your design, let the resin cure for 24 hours.
Step 7: Enjoy your resin art
Once the resin has fully cured, you can very satisfyingly demould your new artwork. You can hang it on the wall, use it as a tabletop, or give it as a gift to a friend or loved one.
Resin art is a fun and creative DIY project that can be done easily at home. By following these simple steps and using the right materials and tools from mouldd, you can create your own beautiful and unique resin art. Happy crafting!
From the blog
View all