Marbelux Top 10 Tips & Tricks!
📖 Your Ultimate Guide to Marbelux: Tips, Tricks & Expert Secrets for Perfect Results Every Time
First of all-thank you so much for your Marbelux order! You’re about to experience one of the most exciting (and satisfying!) new ways to craft beautiful home décor in minutes. Whether you’re making trays, vases or coasters, this guide will walk you through everything you need to know to get stunning results on your very first pour.
Marbelux cures quickly, delivers a silky-smooth concrete-style finish, and is designed to be incredibly easy to use-even if this is your very first time using an eco resin. Below are our top tips to help you avoid common mistakes and achieve professional-grade results.
🌪 1. Plan Your Colours & Design Before You Start
Marbelux cures fast (that’s one of the reasons we love it!), so once you start mixing, you only have 6-10 minutes to work. Decide your colours, add-ins, or marble style in advance so you can move straight into pouring without hesitation.
💡 Top tip: Have all your tools/colours laid out before you start mixing!
🧪 2. Only Mix Enough for One Mould at a Time
Mixing smaller batche keeps you in control and prevents curing inside your jug before you’re ready.
-
It only takes 1-2 minutes to mix a fresh batch
-
Your piece will come out smoother and more consistent
-
You’ll reduce waste and avoid rushing
Think small, pour beautifully.
🔄 3. Scrape the Sides & Bottom When Mixing
This step is essential. Use your mixing spatula to scrape along the bottom and edges of your jug to make sure all powder is incorporated. The mixture should be smooth, pourable and free of dry spots before you begin pouring. 1 to 2 minutes should be enough stirring time!
Unmixed powder = weak spots or imperfections.
💧 4. Added Too Much Liquid? Don’t Panic!
Marbelux is incredibly forgiving. If you add too much liquid, your working time simply increases. It may take a little longer to start curing, but it will still set beautifully.
🎥 5. Watch the Tutorials Before You Begin
We’ve created step-by-step video tutorials showing you exactly how to use Marbelux, troubleshoot bubbles, create marble effects, terrazzo looks and more. These videos cover everything a beginner needs to know and even advanced techniques for seasoned crafters.
👉 Watch our video tutorials here!
🫧 6. Tap Out Air Bubbles
After filling your mould:
-
Gently tap the sides of the mould to release trapped air
-
You can also pinch silicone around the edges to help bubbles escape
We also have a mini bubble tutorial, so do check it out on our video tutorials page!
💦 7. Don’t Be Alarmed by “Sweating”
During curing, you may notice the surface looks like it’s sweating or slightly damp. This is completely normal and a natural part of the Marbelux curing process (it happens with all eco-resins). Once fully cured, the moisture disappears and your piece hardens beautifully.
⏳ 8. Resist the Urge to De-Mould Too Early
We know it’s tempting… but de-moulding too soon can cause your piece to snap or warp, especially if it still feels warm.
If it’s still warm to the touch, leave it a little longer! Your patience will be rewarded with a stronger and smoother finish.
We recommend a minimum of 30 minutes, but no more than 60 minutes curing tends to be required!
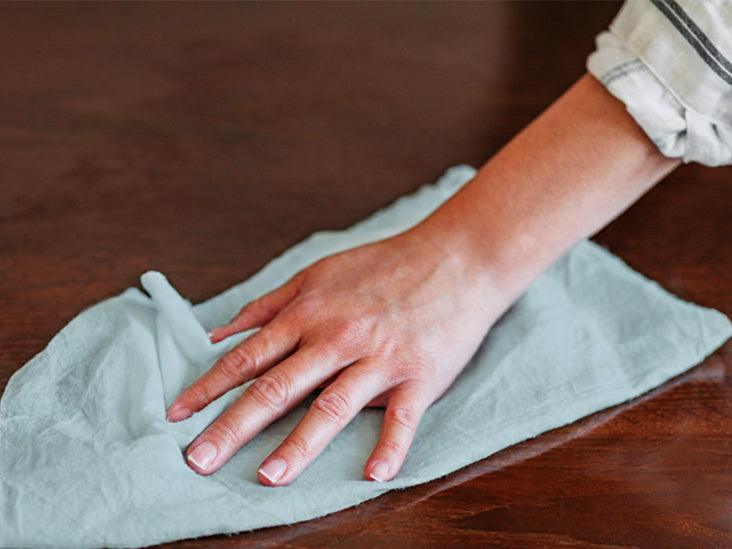
🧼 9. Cleaning Up Is Easy - Just Use Soapy Water
Unlike epoxy resin, Marbelux cleans up effortlessly.
-
Use warm, soapy water to clean your mixing jug and moulds
-
If you have lots of cured marbelux in your jugs or on your stirrers, simply break it up and brush it off into the bin (or you can save it and add it to future pieces for a terrazzo effect!)
-
No harsh chemicals needed!
🎨 10. Choosing the Best Colours for Marbelux
To achieve the most vibrant and professional-looking results, we recommend using water-based pigments, like the ones included in our Marbelux Home Décor Set.
These pigments blend seamlessly with the mixture and deliver bold, consistent colour throughout your piece. You can also experiment with mica powders and glitters to create metallic or shimmering effects-just remember that these can absorb some of the liquid, so you may need to add a touch more to maintain a smooth, pourable consistency.
We’ve also tested acrylic paints and alcohol inks, and while they do work, the colour payoff is much more subtle and results in a muted finish.
Epoxy pigment pastes should be avoided entirely, as they are not compatible with Marbelux and can cause the mixture to react or fail to cure properly.
🎉 Ready to Create Your First Piece?
With these tips in mind, you're set up for Marbelux success. Whether you’re crafting for fun, gifting, or even selling your pieces, Marbelux gives you the professional finish you’ve been dreaming of-without the mess, long cure times or toxic fumes of resin.
Next step: Watch the tutorials here and get ready to pour like a pro!


